A thorough deep clean can make your home feel fresher, more comfortable, and easier to maintain.
This deep cleaning house checklist covers overlooked areas throughout the house, from dusty surfaces and windows to kitchen appliances, bathroom fixtures, bedrooms, living spaces, and floors.
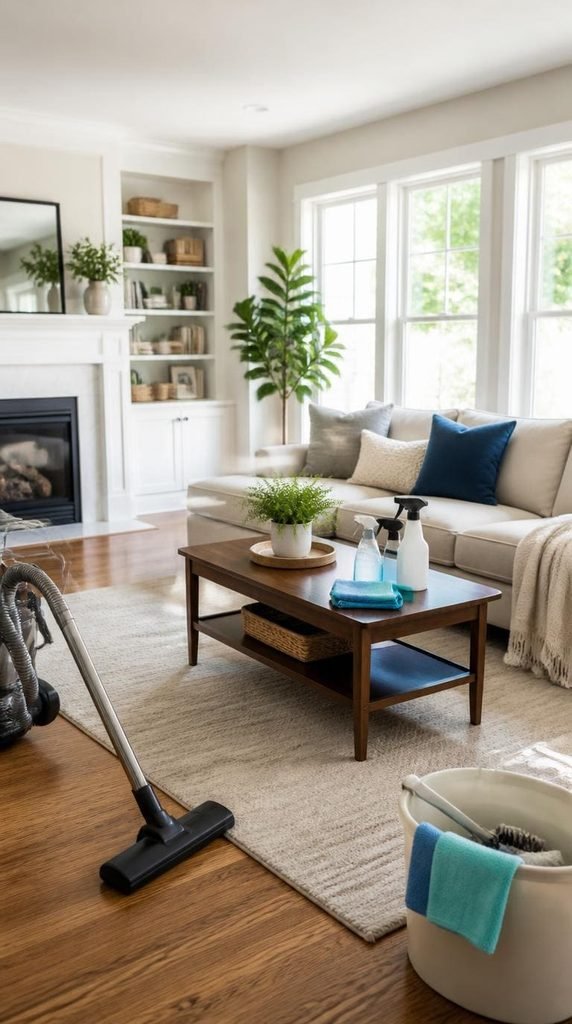
Deep Cleaning Supplies Checklist
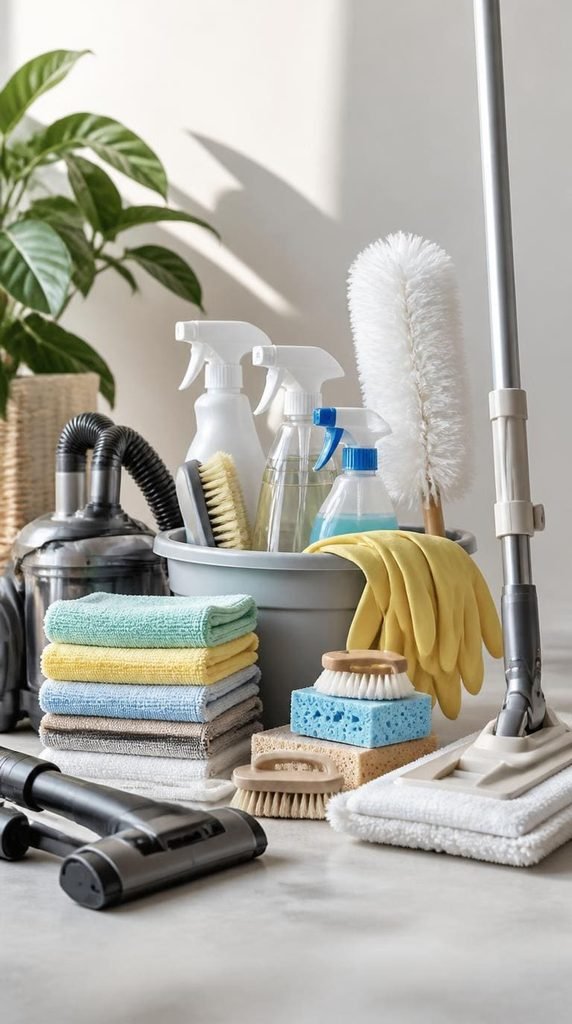
Having your supplies ready before you begin can make the entire process smoother. Gather the basics first so you can move from one room to another without repeatedly stopping to look for what you need.
- Microfiber cloths
- Vacuum cleaner
- Broom and dustpan
- Mop and bucket
- Scrub brushes
- Sponges
- Duster
- Glass cleaner
- Multi-purpose cleaner
- Bathroom cleaner
- Kitchen degreaser
- Grout brush
- Rubber gloves
- Garbage bags
- Cleaning bucket
Choose products based on the surfaces you’re cleaning and follow their labels carefully. Never mix cleaning chemicals, particularly bleach with ammonia or acidic products.
Deep Cleaning House Checklist
Before getting started, work through the checklist room by room. Starting with higher surfaces and moving downward can help prevent dust and debris from settling on areas you’ve already cleaned.
Whole-House Cleaning
1. Dust Ceilings and Ceiling Fans
Start with the highest areas in each room and remove dust, cobwebs, and accumulated debris from ceilings, ceiling fans, and corners. Use an extendable duster or suitable vacuum attachment where appropriate, taking extra care around light fixtures and delicate surfaces.
2. Clean Light Fixtures
Dust and wipe accessible light fixtures, lamps, shades, and other lighting surfaces that aren’t always included in routine cleaning. Turn off fixtures and allow them to cool before cleaning, and follow the manufacturer’s instructions for materials that require special care.
3. Wash Walls and Baseboards
Look closely at walls for fingerprints, marks, dust, and scuffs, particularly around doors, switches, hallways, and busy areas. Wipe washable surfaces with an appropriate cleaner, then give the baseboards extra attention where dust and grime commonly collect.
4. Clean Doors and Door Frames
Wipe doors from top to bottom, paying close attention to handles, edges, frames, and areas around frequently used entrances. These surfaces can accumulate fingerprints and dust without being particularly noticeable, so cleaning the entire area can make rooms feel much fresher.
5. Clean Windows and Window Frames
Wash accessible window glass and clean the surrounding frames, sills, and tracks. Remove loose dust and debris before using a damp cloth or suitable glass cleaner so dirt doesn’t turn into a muddy residue around the edges.
6. Dust Blinds and Curtains
Remove dust from blinds, curtain rods, and other window coverings using a suitable duster or vacuum attachment. Wash curtains only when their care instructions allow it, and pay attention to folds, hems, and edges where dust can settle.
7. Clean Air Vents
Dust accessible air vents, grilles, and surrounding areas where particles can accumulate. A vacuum attachment can help remove loose debris before wiping the surface. For removable components, follow the manufacturer’s recommendations and make sure everything is dry before replacing it.
8. Vacuum Hard-to-Reach Areas
Move lightweight furniture where practical and reach underneath, behind, and between pieces that aren’t cleaned regularly. Pay particular attention to corners, narrow gaps, and spaces beneath cabinets or furniture where dust, hair, crumbs, and small debris can build up.
9. Clean Floors Thoroughly
Vacuum or sweep the entire floor, including edges, corners, and areas underneath movable furniture. Follow with an appropriate mop for hard flooring, using a cleaning method suitable for the specific material to avoid excess moisture or potential surface damage.
10. Clean Frequently Touched Surfaces
Give extra attention to door handles, light switches, cabinet pulls, remote controls, railings, and other commonly handled surfaces. Clean according to the material and product instructions, especially when using disinfecting products on surfaces that may be sensitive to certain cleaners.
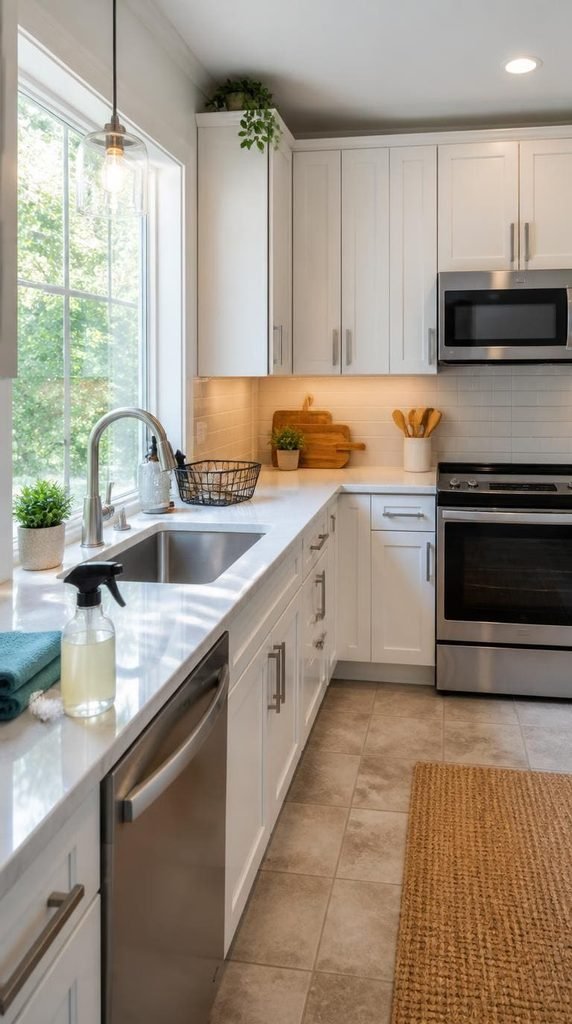
Kitchen Deep Cleaning
11. Clean the Oven
Remove the racks and clear away loose crumbs before tackling baked-on grease and food residue. Clean the interior, door, glass, corners, racks, and exterior controls using methods and products suitable for your appliance, and always follow the manufacturer’s cleaning instructions.
12. Clean the Microwave
Remove the turntable and wash it separately before wiping the interior walls, ceiling, door, and base. Pay attention to dried food splashes and greasy spots, then clean the buttons, handle, and exterior without allowing excess moisture near electrical components.
13. Clean the Refrigerator
Take everything out of the refrigerator and check expiration dates before cleaning the shelves, drawers, walls, door compartments, and seals. Wash removable components according to their care instructions and wipe away spills before returning food in an organized manner.
14. Wipe Kitchen Cabinets
Clean cabinet doors, handles, edges, and frequently touched areas where cooking grease and fingerprints can build up. Empty selected cabinets when needed and wipe their interiors as well, using a cleaner that is appropriate for the cabinet’s finish and material.
15. Deep Clean the Countertops
Clear everything from the countertops so you can reach the entire surface, including corners and edges around appliances. Remove crumbs and residue first, then clean according to the countertop material. Don’t overlook the backsplash or areas hidden beneath frequently used appliances.
16. Scrub the Kitchen Sink
Clean the sink basin, faucet, handles, drain area, and surrounding countertop to remove food residue, stains, and buildup. Pay particular attention to the edges and areas around the faucet base, where moisture and grime can collect over time.
17. Clean Small Appliances
Give frequently used appliances such as toasters, coffee makers, blenders, and air fryers a thorough clean. Remove crumbs and residue from accessible areas, wash removable components when appropriate, and wipe exteriors according to each appliance’s care instructions.
18. Clean the Range Hood
Remove grease and dust from accessible surfaces around the range hood, including the exterior and underside. If the filter is washable, clean it according to the manufacturer’s instructions and allow it to dry completely before putting it back.
19. Clean the Dishwasher
Empty the dishwasher and inspect the filter, spray arms, door seals, and interior for food particles or residue. Clean removable parts according to the manufacturer’s directions and run an appropriate cleaning cycle if recommended for your particular appliance.
20. Mop Under Kitchen Appliances
Where appliances can be moved safely, clean underneath and behind them to remove crumbs, dust, grease, and debris. If an appliance is difficult or unsafe to move, clean as far underneath as possible without forcing it or interfering with connections.
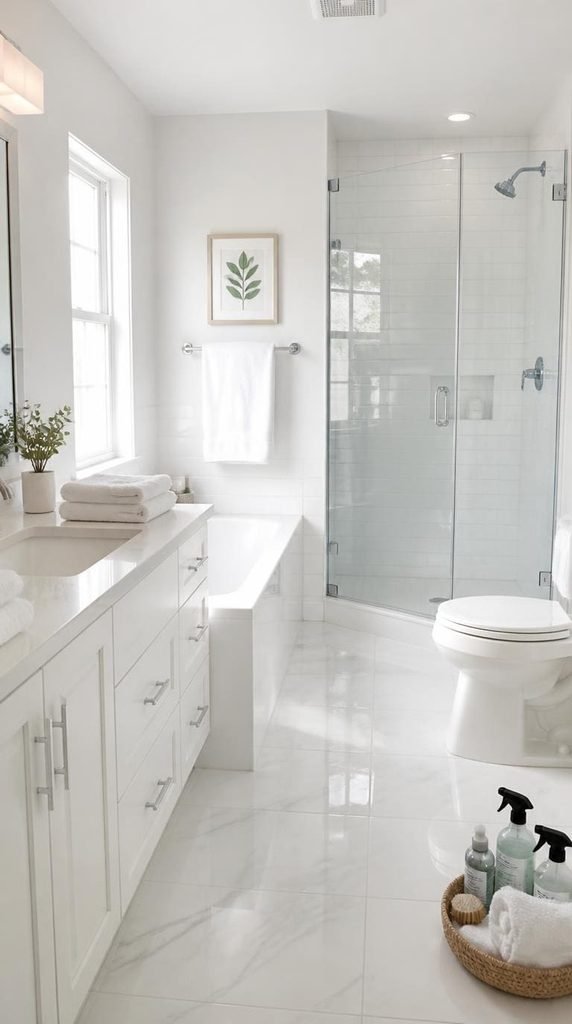
Bathroom Deep Cleaning
21. Scrub the Shower or Tub
Clean shower walls, the tub or shower floor, fixtures, corners, and areas around drains where soap residue and mineral buildup can accumulate. Use products appropriate for the surfaces and rinse or wipe thoroughly according to the cleaner’s instructions.
22. Clean Shower Doors and Glass
Remove soap residue, water spots, and buildup from shower glass and surrounding frames. Start by clearing loose debris, then use a suitable glass or shower cleaner and a clean cloth or sponge designed for the surface.
23. Scrub Bathroom Grout
Give grout lines extra attention because dirt, soap residue, and moisture can collect in these narrow spaces. Use a suitable grout cleaner and brush, working section by section. Follow the product directions carefully and avoid combining different cleaning chemicals.
24. Clean the Toilet Thoroughly
Clean the bowl, seat, lid, hinges, exterior, base, and surrounding floor rather than focusing only on the inside of the bowl. Pay particular attention to areas around the hinges and base where dust, residue, and moisture can accumulate.
25. Wash the Bathroom Sink
Scrub the basin, faucet, handles, drain area, backsplash, and surrounding countertop. Remove hair and residue before cleaning the surface, and use a product appropriate for the material to help prevent damage or dulling.
26. Clean Bathroom Cabinets
Empty cabinets and drawers where needed, discard expired or unwanted products, and wipe the interior surfaces. Clean cabinet doors, handles, and edges as well, paying particular attention to areas exposed to moisture and frequent handling.
27. Wash Bath Mats and Shower Curtains
Clean washable bath mats and shower curtains according to their care labels. Check seams, folds, and edges for accumulated moisture or residue, and make sure washable items are thoroughly dried before putting them back in the bathroom.
28. Clean Bathroom Exhaust Fans
Remove dust from accessible exhaust fan covers and the surrounding ceiling area. If the cover can be removed safely, follow the manufacturer’s instructions for cleaning it and allow it to dry completely before reinstalling it.
29. Wipe Mirrors
Clean bathroom mirrors and other glass surfaces to remove fingerprints, water spots, toothpaste splashes, and residue. Use an appropriate glass-cleaning method and finish with a clean, dry microfiber cloth to minimize streaks and leave the surface looking clear.
30. Mop the Bathroom Floor
Vacuum or sweep first to remove hair and loose debris, then mop the floor using a method appropriate for the flooring. Work carefully around the toilet, cabinets, corners, and edges where dirt and hair tend to collect.
Bedroom Deep Cleaning
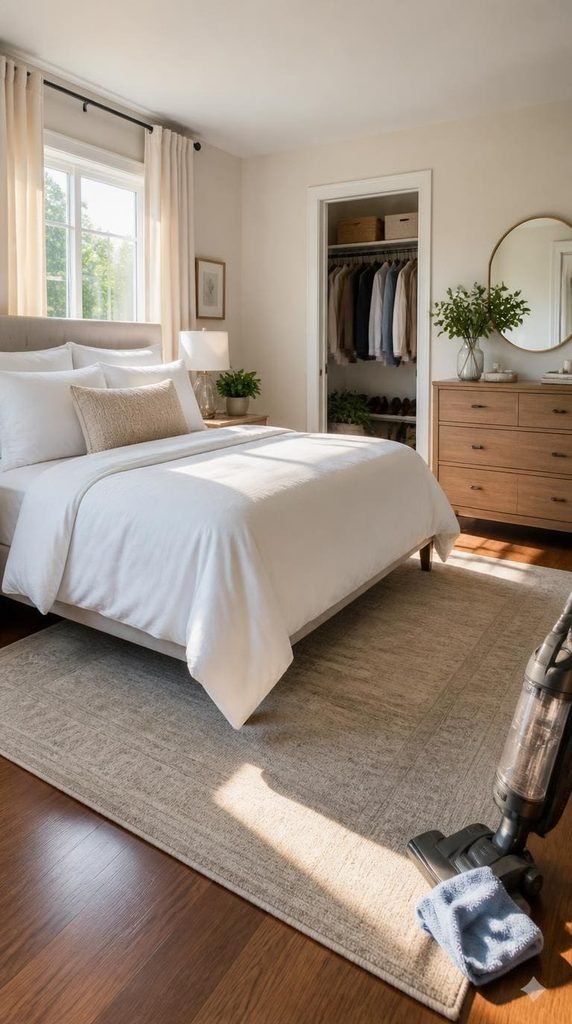
31. Wash Bedding
Strip the bed and wash sheets, pillowcases, blankets, and other washable bedding according to their care labels. While the bed is bare, take the opportunity to clean the mattress surface, bed frame, headboard, and areas that are normally hidden beneath the bedding.
32. Clean the Mattress
Vacuum the mattress surface, sides, and seams to remove dust and debris. Address stains using a method suitable for the mattress material, avoid excessive moisture, and allow the mattress to dry completely before replacing clean bedding.
33. Vacuum Under the Bed
Remove storage containers and other items from underneath the bed so you can reach the entire floor. Vacuum corners, edges, and the space beneath the frame where dust, hair, and small particles can accumulate unnoticed.
34. Clean the Closet
Take time to remove unwanted clothing and items before cleaning the closet itself. Dust shelves, drawers, hanging rods, corners, and accessible surfaces, then return belongings in an organized way that leaves the space easier to maintain.
35. Dust Bedroom Furniture
Clean nightstands, dressers, headboards, shelves, lamps, and other bedroom furniture from top to bottom. Move small objects aside so you can wipe the entire surface rather than simply cleaning around decorations and personal belongings.
Living Room Deep Cleaning
36. Vacuum the Sofa
Remove cushions when possible and vacuum the seats, crevices, sides, back, and area underneath. Pay attention to the gaps where crumbs, dust, pet hair, and small debris can collect, and use an upholstery attachment appropriate for the fabric.
37. Clean Upholstery
Check the manufacturer’s care instructions before treating upholstered furniture. Vacuum loose debris first, then clean stains or washable surfaces using an appropriate method. Test any cleaning product on a discreet area when recommended to avoid damaging or discoloring the fabric.
38. Dust Shelves and Decor
Remove books, picture frames, decorative objects, and other items from shelves before cleaning the surfaces underneath. Dust each item as appropriate, wipe the shelves and corners thoroughly, and return everything in an organized arrangement.
39. Clean Rugs and Carpets
Vacuum rugs and carpets slowly and thoroughly, making several passes over heavily used areas. For deeper cleaning, use a method suitable for the material and follow the manufacturer’s care instructions, especially for delicate rugs and specialty fibers.
40. Move Furniture and Clean Behind It
Move lightweight furniture when practical and clean underneath, behind, and around it. These hidden areas can collect surprising amounts of dust, hair, crumbs, and debris, making them worthwhile additions to a thorough whole-house cleaning routine.

How to Deep Clean Your House Efficiently
A large cleaning checklist can feel overwhelming, but breaking the work into a logical order makes it easier to manage. These simple strategies can help you work more efficiently and avoid unnecessary repetition.
Start From the Top
Begin with ceilings, fans, light fixtures, and high surfaces before moving downward. Any dust that falls can then be cleaned from lower surfaces later instead of settling on areas you’ve already finished.
Declutter Before Cleaning
Put away belongings and remove items you no longer need before wiping surfaces. A less cluttered room gives you better access to furniture, shelves, floors, and other areas that need attention.
Work Room by Room
Completing one space at a time can help you stay organized and see your progress. Keep the checklist nearby and mark tasks as you finish them so you know exactly what has been completed.
Clean Dry Areas Before Wet Cleaning
Dust and vacuum first, then wipe surfaces and mop floors. This helps prevent loose dirt from becoming wet residue that’s harder to remove and keeps your cleaning process more efficient.
Work From Lighter Cleaning Toward Heavier Cleaning
When practical, start with areas that need basic dusting and wiping before moving to heavily soiled surfaces. Change cloths, sponges, and mop water as needed so you’re not spreading dirt from one area to another.
Leave Floors Until the End
Floors naturally collect dust and debris while you’re cleaning furniture, fixtures, cabinets, and other surfaces. Finishing them last means you won’t have to clean them repeatedly during the same session.
Break the Checklist Into Sessions
You don’t have to complete every task in one day. Divide the list across several days or weekends if that makes the work more manageable. You can also focus on one room or category during each session.
How Often Should You Deep Clean Your House?
There isn’t one schedule that works for every household. Some people prefer a thorough deep clean every few months, while others divide larger cleaning tasks throughout the year.
Your home’s size, number of occupants, pets, household traffic, and everyday routines can all affect how frequently certain areas need extra attention.
Regular cleaning can handle everyday maintenance, while a deep cleaning house checklist helps you remember the areas that are easy to overlook, such as baseboards, window tracks, cabinet interiors, appliances, furniture underneath, and other less frequently cleaned spaces.
Deep Cleaning House Checklist at a Glance
- ☐ Whole-house surfaces and fixtures
- ☐ Windows and window coverings
- ☐ Doors and baseboards
- ☐ Kitchen appliances and cabinets
- ☐ Countertops and sink
- ☐ Shower, tub, and bathroom fixtures
- ☐ Toilet and bathroom cabinets
- ☐ Bedding and mattress
- ☐ Closet and bedroom furniture
- ☐ Sofa and upholstery
- ☐ Rugs and carpets
- ☐ Floors and hard-to-reach areas