A clean kitchen is easier to use when everyday messes, food residue, grease, and hidden crumbs are dealt with regularly.
This kitchen cleaning checklist covers countertops, cabinets, appliances, sinks, floors, and overlooked areas so you can work through the kitchen in an organized way.

Kitchen Cleaning Supplies Checklist
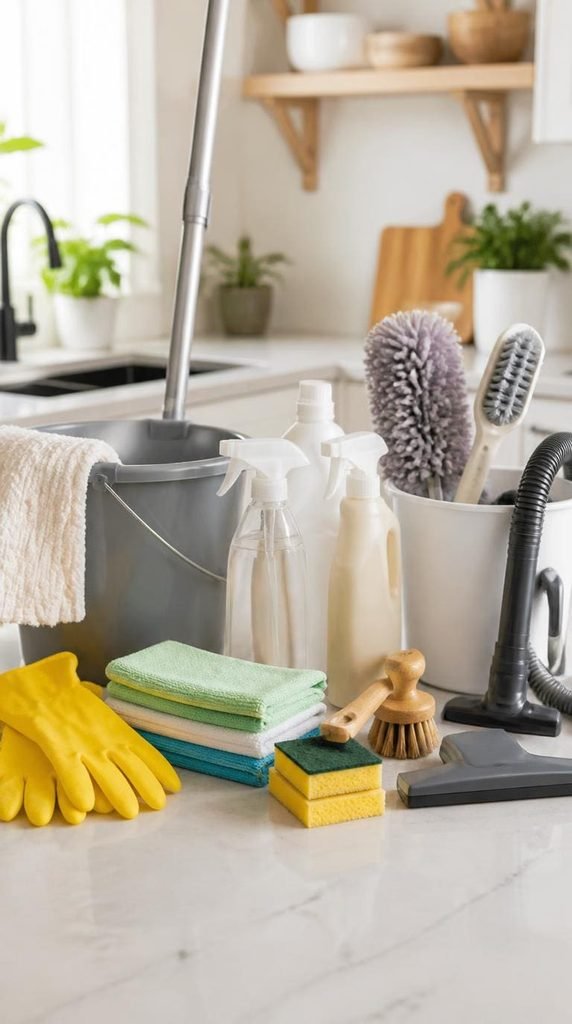
Gather your cleaning supplies before you start so you can move efficiently from one kitchen area to another. Choose products according to the surfaces and appliances you’re cleaning, and keep a few microfiber cloths available for different tasks.
- Microfiber cloths
- Multi-purpose cleaner
- Kitchen degreaser
- Glass cleaner
- Dish soap
- Sponges
- Scrub brushes
- Grout brush
- Duster
- Vacuum cleaner
- Broom and dustpan
- Mop and bucket
- Rubber gloves
- Garbage bags
- Cleaning caddy
Always check appliance and surface care instructions before using cleaning products. Never mix cleaning chemicals, especially bleach with ammonia or acidic products.
Kitchen Cleaning Checklist
For an efficient routine, start by clearing clutter and dishes before cleaning surfaces. Work from higher areas toward the floor, and clean dry debris before using wet cleaning methods.
1. Clear the Countertops
Remove appliances, dishes, food containers, utensils, and other items from the countertops. Clearing the entire surface makes it easier to find crumbs, grease, stains, and residue hiding around frequently used objects.
2. Wash the Dishes
Wash dishes by hand or load the dishwasher before beginning the rest of the kitchen cleaning. Empty the drying rack and return clean dishes to their proper places so the sink and counters remain clear.
3. Clean the Kitchen Sink
Scrub the sink basin, drain area, faucet, handles, and surrounding counter. Remove food particles and residue first, then clean the surfaces thoroughly, paying particular attention to edges where grime and moisture can collect.
4. Clean the Faucet
Wipe the faucet, handles, joints, and base to remove water spots, soap residue, and buildup. Use a product suitable for the faucet’s finish and avoid abrasive tools that could scratch the surface.
5. Wipe the Countertops
Clean the entire countertop, including corners, edges, backsplash areas, and spaces underneath small appliances. Use a cleaner appropriate for the countertop material and avoid methods that could damage natural stone, wood, or other specialty surfaces.
6. Clean the Backsplash
Wipe the backsplash behind the sink, stove, and countertops to remove food splashes, grease, and dust. Pay attention to grout lines and areas directly behind cooking appliances where residue can build up quickly.
7. Wipe Kitchen Cabinets
Clean cabinet doors, drawer fronts, handles, edges, and other frequently touched areas. Cooking grease and fingerprints can gradually accumulate, particularly around handles and the cabinets closest to the stove.
8. Clean Inside Cabinets
Empty selected cabinets and drawers so you can remove crumbs, dust, and spills from the interiors. Wipe shelves and corners with an appropriate cleaner, then return dishes and supplies in an organized arrangement.
9. Clean the Pantry
Check pantry shelves for expired or damaged food before wiping the surfaces. Remove loose crumbs and spills, clean containers where needed, and group similar foods together so the pantry remains easier to maintain.
10. Clean the Refrigerator Exterior
Wipe the refrigerator doors, handles, sides, and top where accessible. Pay special attention to fingerprints, food splashes, and dust around the handles and seals, using a cleaner appropriate for the appliance’s finish.
11. Clean the Refrigerator Interior
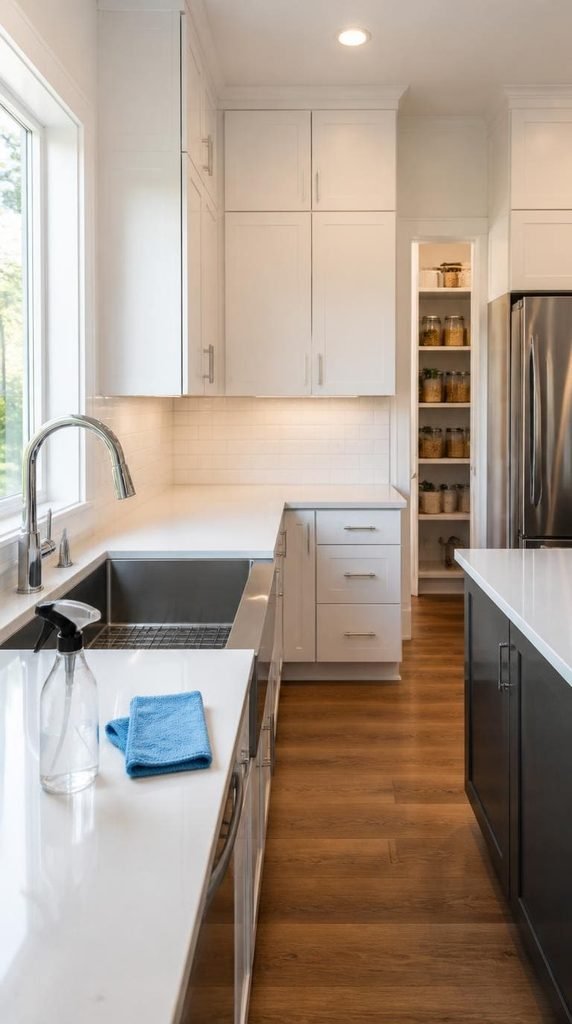
Remove food and check expiration dates before cleaning shelves, drawers, walls, door compartments, and seals. Wash removable components according to their care instructions, wipe spills thoroughly, and return food neatly once everything is clean and dry.
12. Clean the Oven
Remove oven racks and clear away loose crumbs before cleaning baked-on grease and food residue. Clean the interior, door, glass, racks, and accessible exterior surfaces according to the appliance manufacturer’s instructions.
13. Clean the Microwave
Remove the turntable and wash it separately before wiping the interior walls, ceiling, base, and door. Focus on dried food splashes and greasy spots, then clean the buttons and exterior without allowing excess moisture near electrical components.
14. Clean the Dishwasher
Empty the dishwasher and inspect the filter, spray arms, door seals, and interior for food particles or residue. Clean removable components according to the manufacturer’s directions and use an appropriate cleaning cycle if recommended.
15. Clean the Range Hood
Remove grease and dust from accessible surfaces on the range hood, especially the underside and areas directly above the stove. If the filter is washable, clean it according to the manufacturer’s instructions and allow it to dry fully before replacing it.
16. Clean the Stovetop
Remove grates, burners, knobs, or other removable components when the appliance design allows it. Wipe away grease and food residue from the cooking surface and clean each component using methods appropriate for the material.
17. Clean Small Appliances
Wipe frequently used appliances such as toasters, coffee makers, blenders, kettles, and air fryers. Remove crumbs and residue from accessible areas, wash removable parts when appropriate, and follow each appliance’s care instructions.
18. Clean the Coffee Maker
Empty leftover water and grounds, wash removable components, and wipe the exterior. If the manufacturer recommends a descaling or cleaning cycle, follow those instructions rather than using an unapproved cleaning method.
19. Clean the Toaster
Unplug the toaster and allow it to cool completely before cleaning. Remove accessible crumbs according to the manufacturer’s instructions and wipe the exterior, taking care not to introduce water into electrical components.
20. Clean the Kitchen Trash Can
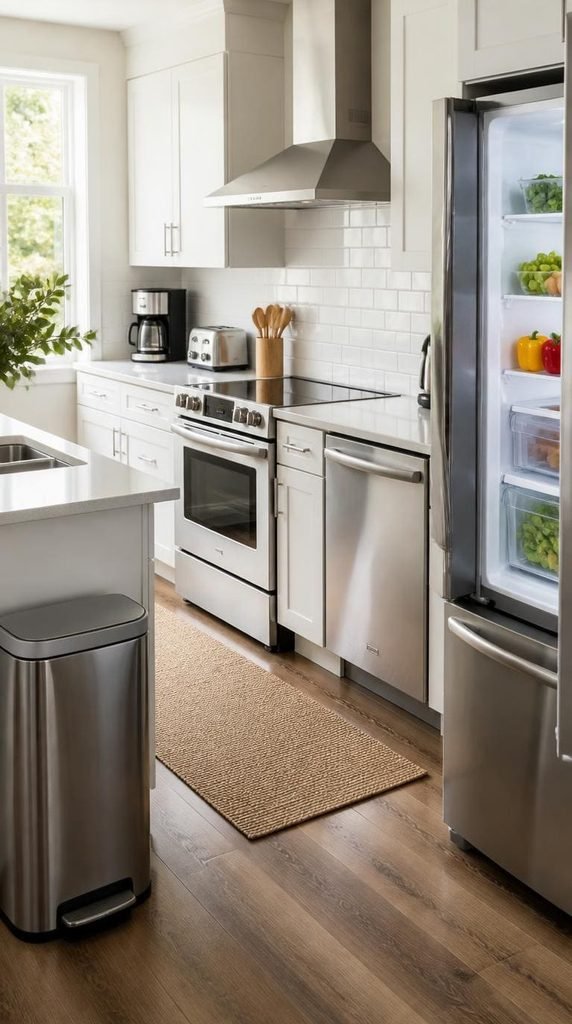
Empty the trash and replace the liner. Wipe or wash the inside, lid, handles, and exterior of the bin when necessary, especially if food residue, spills, or unpleasant odors have developed.
21. Dust the Ceiling
Remove cobwebs and accumulated dust from the kitchen ceiling and upper corners. Use an extendable duster or suitable vacuum attachment and work carefully around light fixtures, vents, and other installed equipment.
22. Clean Light Fixtures
Dust accessible ceiling lights, pendant fixtures, lamps, and shades. Turn off the lights and allow them to cool before cleaning, then follow the manufacturer’s instructions for the particular fixture and material.
23. Clean Air Vents
Dust accessible kitchen vents and grilles to remove accumulated particles. Vacuum loose debris first when appropriate, then wipe the surface carefully and follow any instructions for removable covers.
24. Clean Windows and Sills
Dust window frames, sills, and tracks before cleaning the glass. Remove loose debris first, then wipe the glass with an appropriate cleaner and clean the surrounding frame to remove fingerprints and kitchen residue.
25. Dust Blinds and Curtains
Remove dust from blinds, curtain rods, and other window coverings using a suitable duster or vacuum attachment. Wash curtains only according to their care labels, particularly when they are exposed to cooking odors and grease.
26. Clean Baseboards
Wipe kitchen baseboards to remove dust, crumbs, hair, and cooking residue. Pay particular attention to corners, areas beneath cabinets, and sections near the stove or sink where grime can accumulate.
27. Clean Under Small Appliances
Move lightweight countertop appliances when practical and clean the surfaces beneath them. Crumbs, dust, grease, and moisture can collect around coffee makers, toasters, air fryers, and other frequently used appliances.
28. Clean Under Kitchen Cabinets
Vacuum or wipe beneath the lower cabinets, particularly around toe-kick areas where crumbs and dust can collect. Use a suitable method for the flooring and cabinet material to avoid excess moisture.
29. Sweep the Kitchen Floor
Sweep or vacuum the entire floor before mopping. Focus on corners, edges, beneath cabinets, and areas around the stove, refrigerator, and dining spaces where food particles and dust commonly collect.
30. Mop the Kitchen Floor
Mop the floor using a method appropriate for the flooring material. Work carefully around the sink, stove, cabinets, and appliances, and avoid excessive moisture on flooring that can be damaged by standing water.
How to Clean Your Kitchen Efficiently
A kitchen can feel overwhelming when several areas need attention at once. Following the same order each time can make the work faster and help prevent you from repeating tasks.
Clear the Clutter First
Remove dishes, food containers, appliances, and other items from the surfaces you’re cleaning. A clear countertop gives you much better access and makes it easier to spot crumbs, stains, and grease.
Work From Top to Bottom
Start with ceiling areas, light fixtures, upper cabinets, and other high surfaces. Dust and debris that fall can then be removed when you clean lower surfaces and floors.
Clean Dry Debris Before Wet Cleaning
Sweep crumbs and vacuum loose debris before wiping or mopping. This prevents dust, food particles, and hair from turning into wet residue that can be more difficult to remove.
Clean Appliances According to Their Care Instructions
Different appliances require different cleaning methods. Check the manufacturer’s recommendations before using products or attempting to remove components, particularly when dealing with electrical parts or specialty finishes.
Save the Floor for Last
The floor naturally collects crumbs, dust, and residue while the rest of the kitchen is being cleaned. Sweeping, vacuuming, and mopping at the end prevents you from having to repeat the work.
How Often Should You Clean Your Kitchen?
Kitchens often need more frequent cleaning than other rooms because food preparation, cooking grease, spills, and crumbs can accumulate quickly.
Simple tasks such as wiping counters, washing dishes, cleaning spills, and sweeping visible debris can be handled regularly. Larger jobs such as cleaning the oven, refrigerator interior, range hood, cabinet interiors, baseboards, and areas beneath appliances can be included in a deeper cleaning routine.
Your ideal schedule will depend on how often you cook, the size of your household, and how quickly food residue or clutter builds up. A consistent routine can make larger cleaning sessions much easier.
Kitchen Cleaning Checklist at a Glance
- ☐ Clear countertops and wash dishes
- ☐ Clean the sink and faucet
- ☐ Wipe countertops and backsplash
- ☐ Clean cabinet doors and handles
- ☐ Clean inside cabinets and drawers
- ☐ Organize and clean the pantry
- ☐ Clean the refrigerator inside and out
- ☐ Clean the oven and microwave
- ☐ Clean the dishwasher
- ☐ Clean the range hood and stovetop
- ☐ Clean small kitchen appliances
- ☐ Clean the trash can
- ☐ Dust ceiling areas and light fixtures
- ☐ Clean vents and windows
- ☐ Dust blinds and curtains
- ☐ Wipe baseboards
- ☐ Clean under small appliances
- ☐ Clean beneath kitchen cabinets
- ☐ Sweep or vacuum the floor
- ☐ Mop the kitchen floor